Resources
The Resources menu allows you to manage the different resources of your IT infrastructure that you want to monitor. Whether it's adding, modifying, or deleting. A resource can be a machine, a router, a switch, etc.
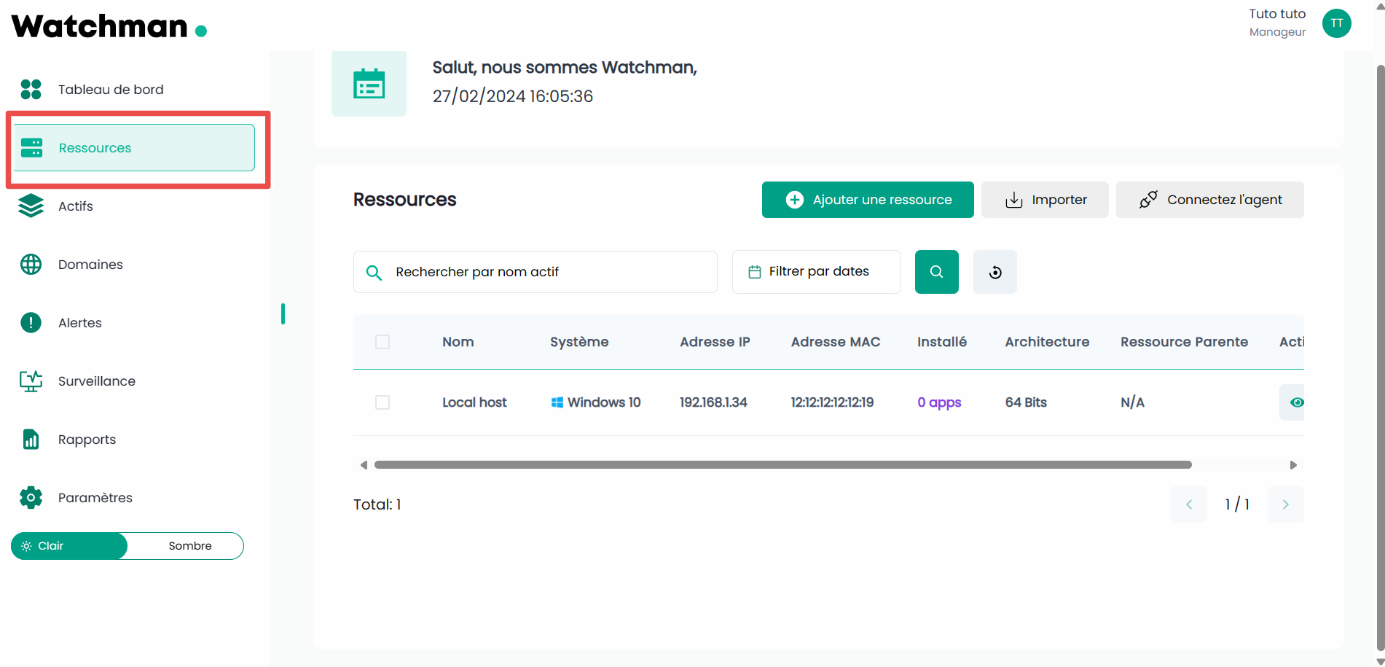
1. Creating Resources
To create a resource, please click on the "Add Resource" button

Fill out the form with the resource information:
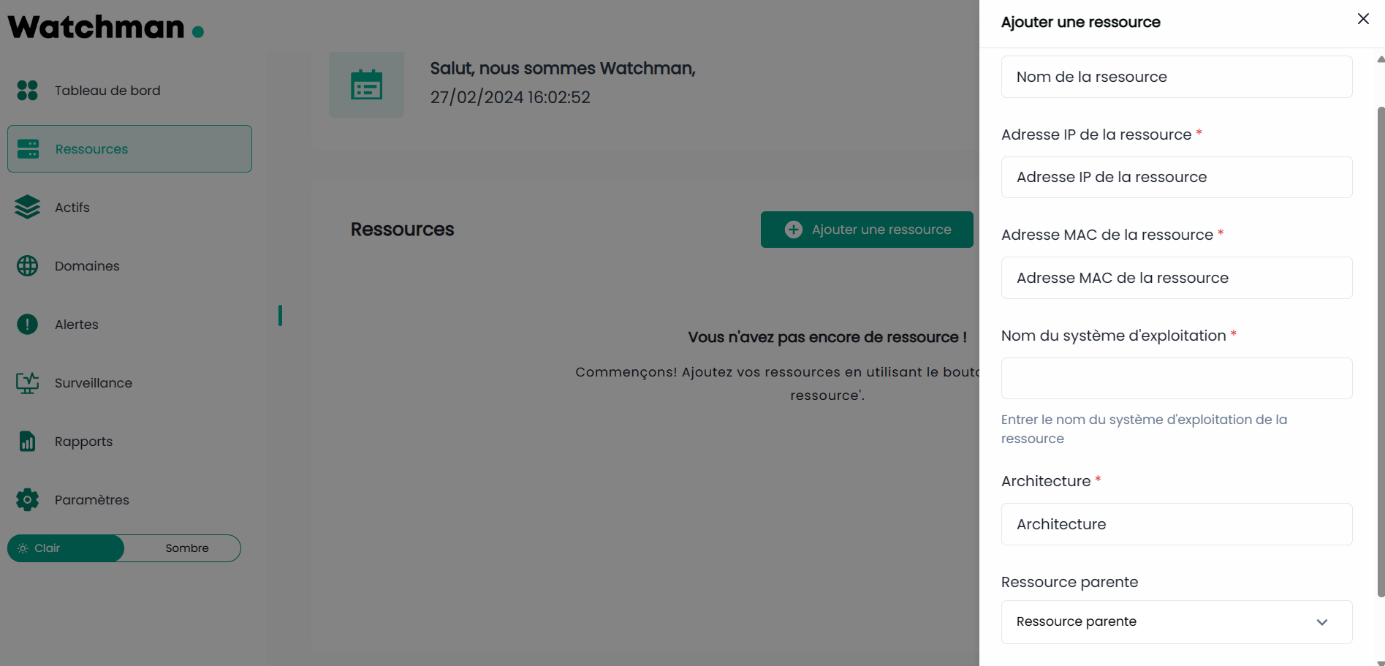
Then click the "Add" button to add the resource or "Cancel" if you no longer want to add it.
2. Viewing Added Resources
On the page, a table displays the list of resources you have added
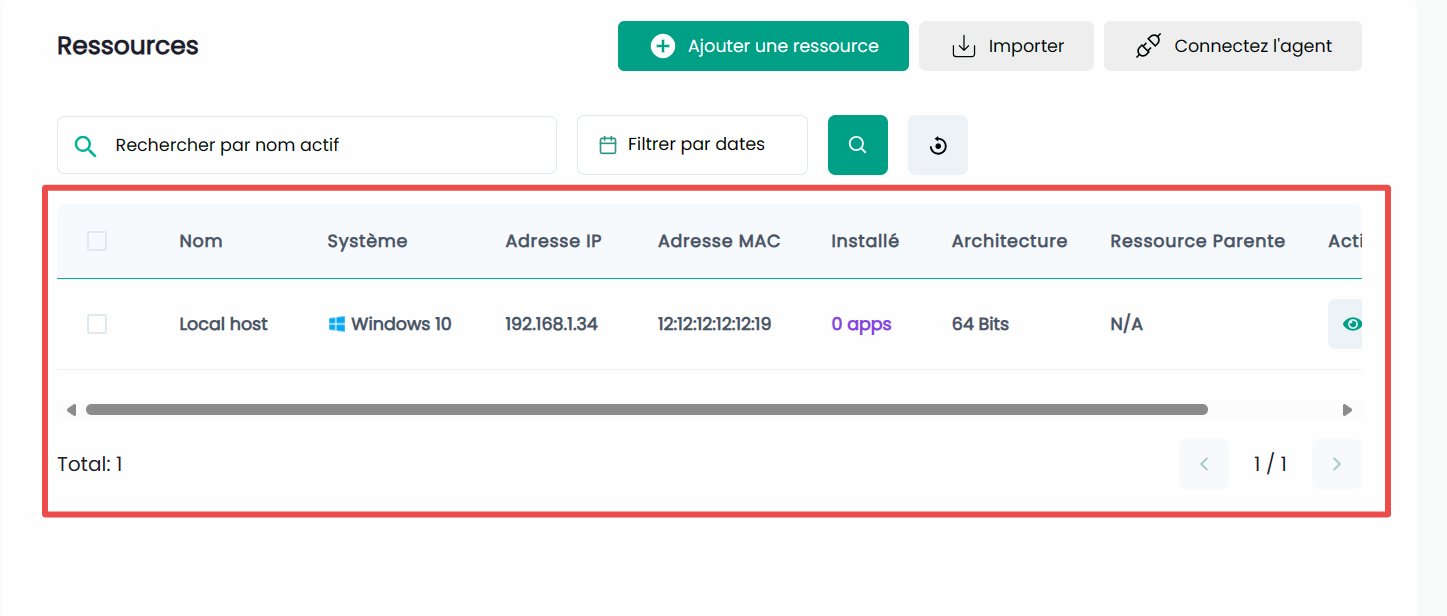
You can also filter resources by name, IP address, or MAC address:

3. Modify or Delete a Resource
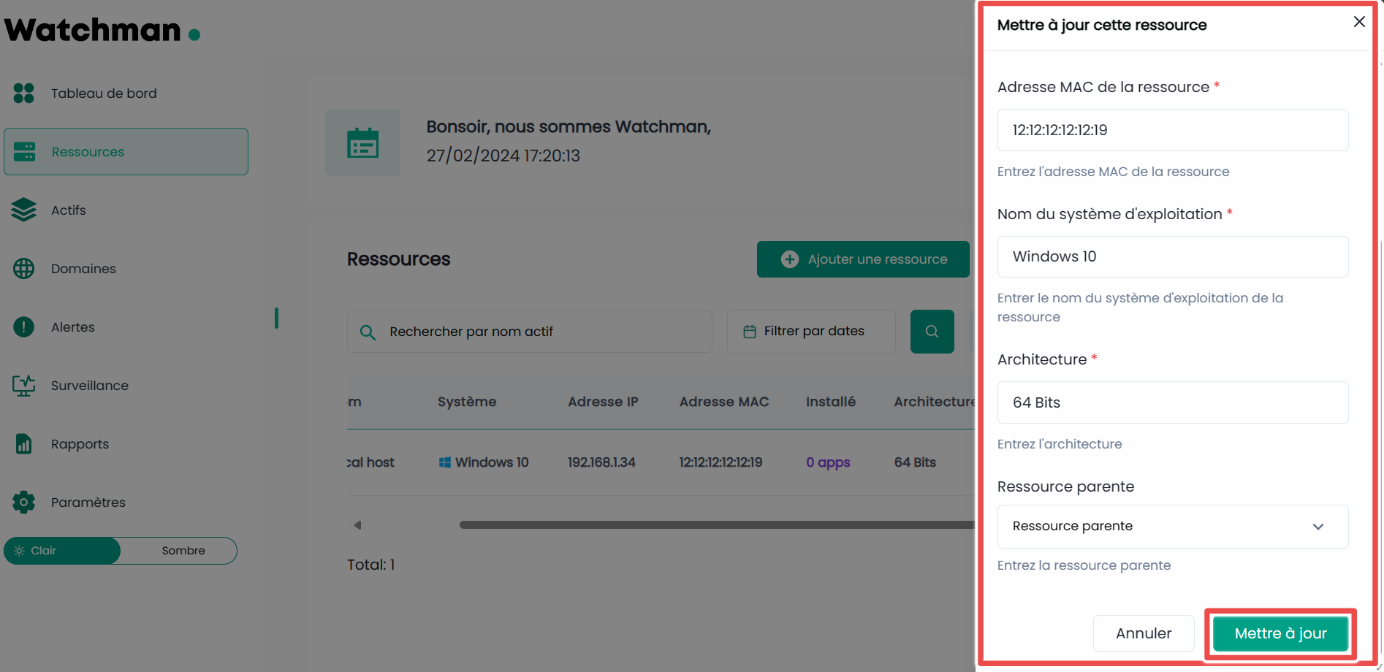
a) Modifying a Resource
To modify a resource, click on the button  :
:

A form with the details of this resource will appear and you can modify them:
- Don’t forget to click the "Modify" button to apply your changes.
b) Deleting a Resource
To delete a resource, click on the button  . You will then see a confirmation box:
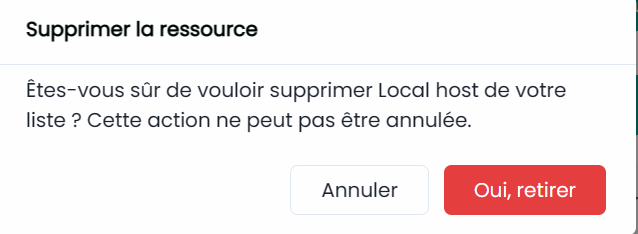
If you really want to remove it, click the "Yes, remove" button, otherwise click "Cancel".
4. Adding Software or Installed Assets on a Resource
Each added resource can have assets or software installed. To add them, follow these steps:
Click the button
next to the resource in the table:


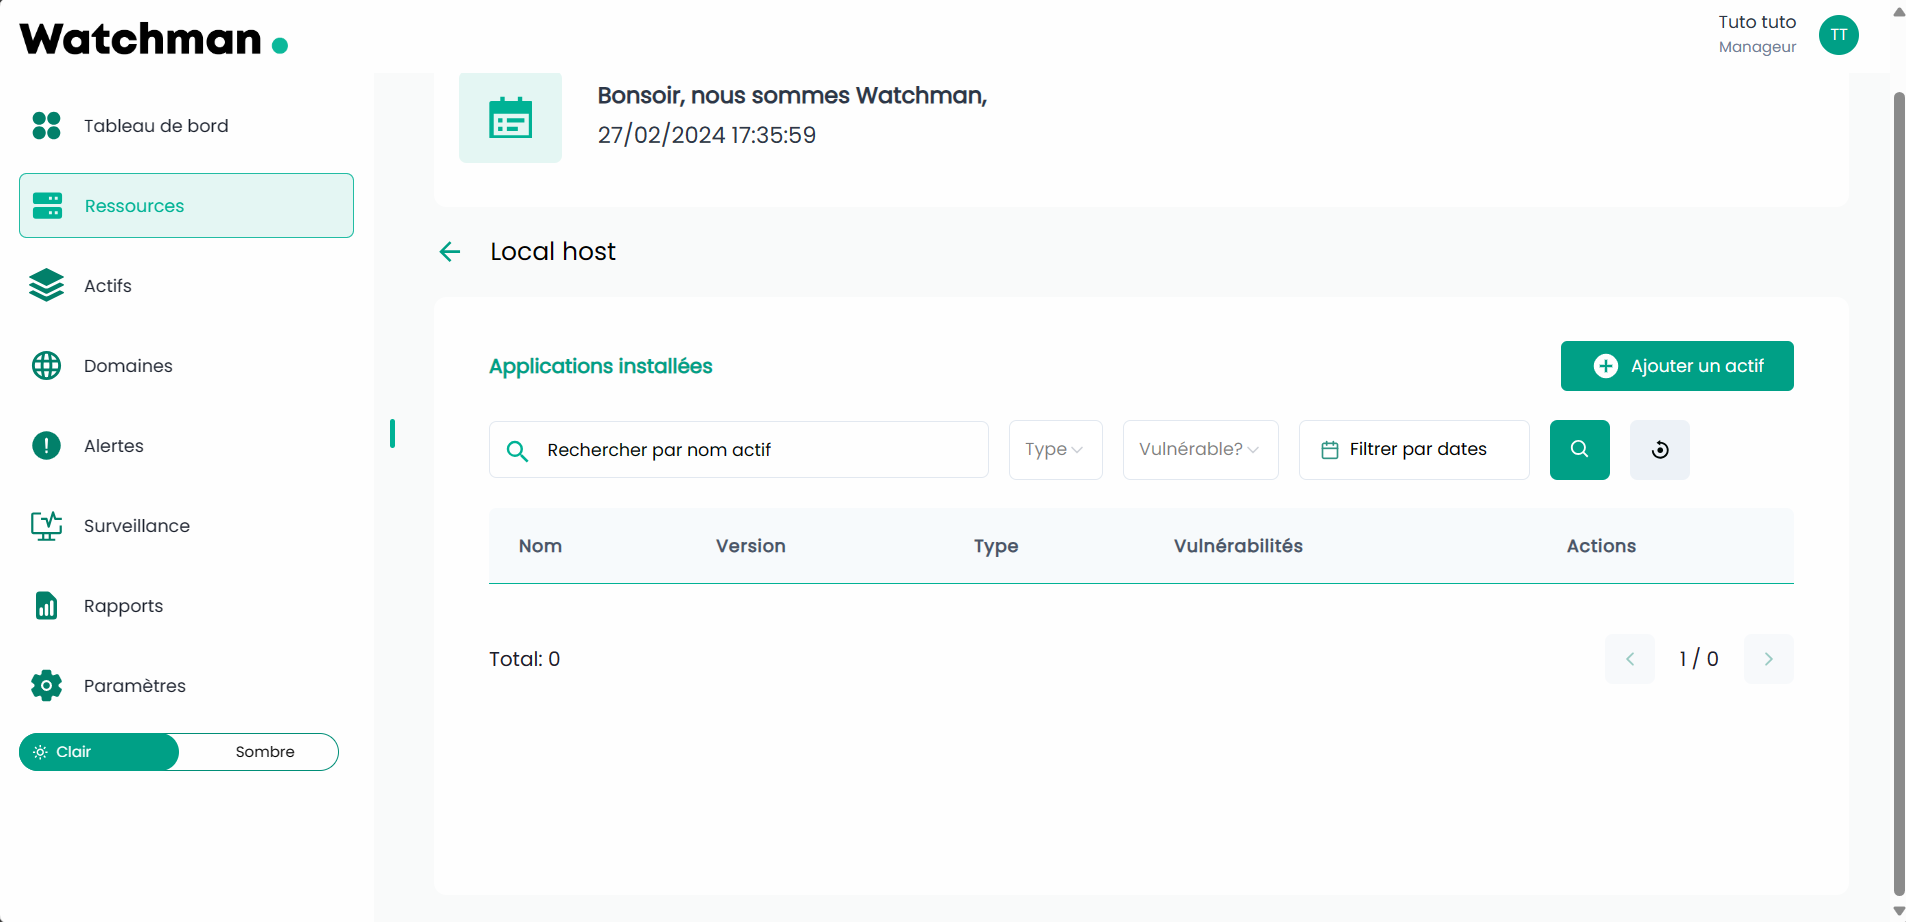
You will be redirected to the page showing the list of assets installed on that resource:
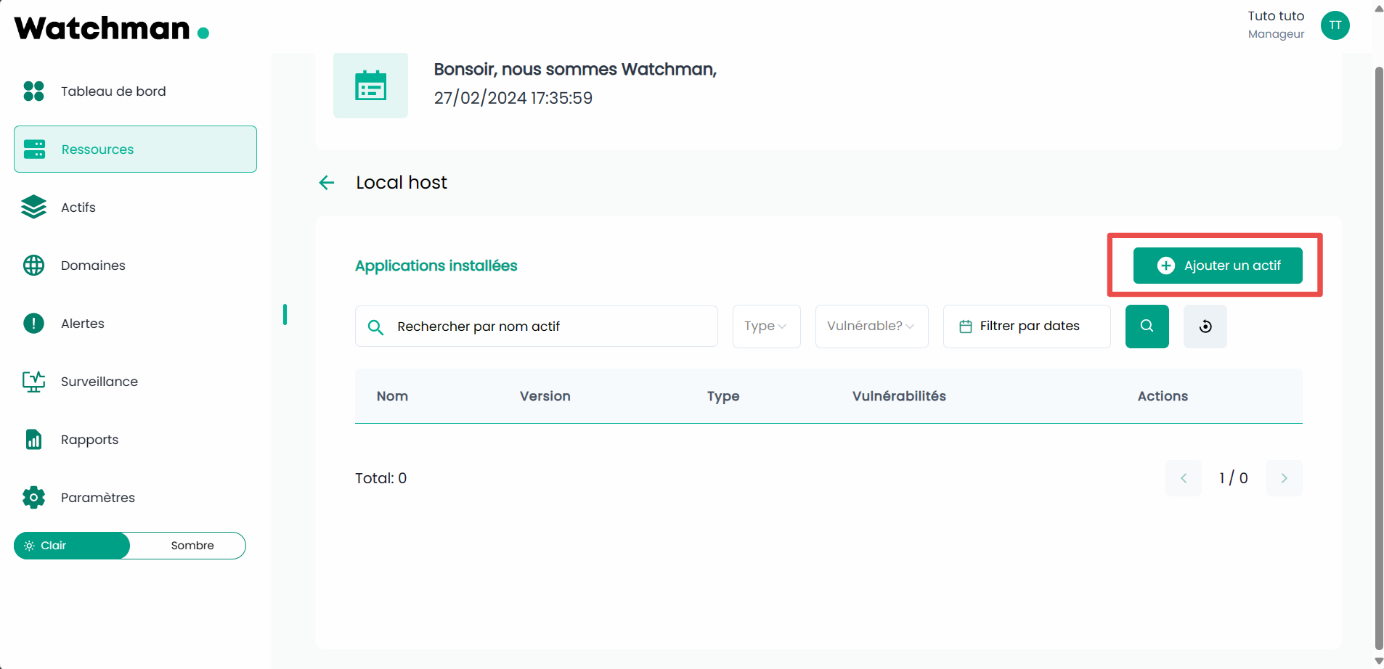
Click the "Add an asset" button
Fill in the form that appears with the information of the application or software to add:
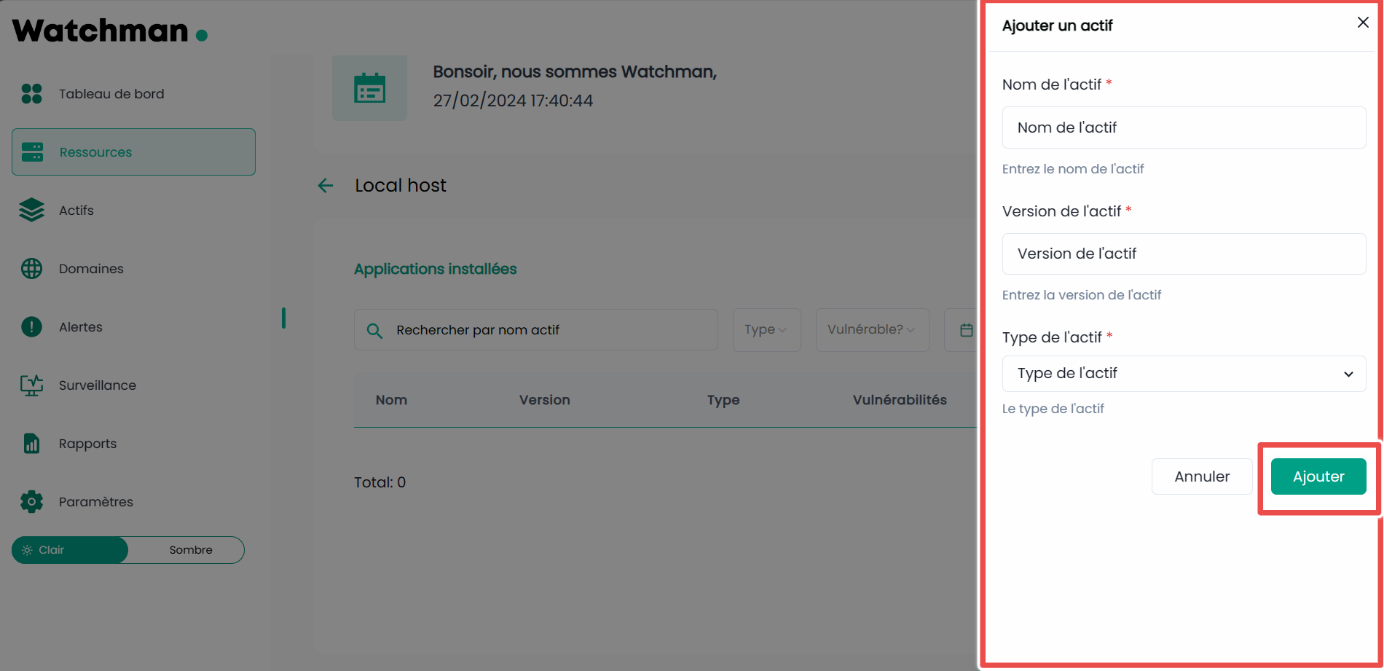
After clicking the "Add" button, your asset is added.